|
|
|

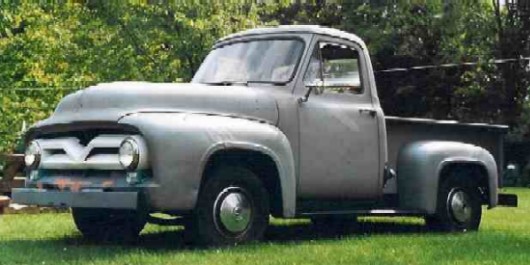
First thing to do when repairing a fender is to either: 1) cut out the rust and use cardboard to give yourself the appropriate sized piece to form, or 2) trace the repair panel onto the fender so you know how far into the fender you can cut to get to nice clean metal. If the extent of the rust is inside the line you traced onto the fender, you can use technique #2. If the rusty, thin metal goes beyond this traced line, you will have to use a combination of both of these techniques. Rob got lucky and we did not have to make more repairs than were necessary.

Instead of taking the actual repair panel and laying that onto the fender to trace, I cut a piece of cardboard that perfectly matched it. I then used that to give me the best line I could give myself. I wanted to use a piece of cardboard, because I was able to bend and flex it to the exact shape I needed. Once I had it traced onto the fender with marker, I was able to cut it out with a saws-all. You can see the two Pieces I cut out of his fenders in the picture to the left. Notice how I removed enough metal to get all the way into the nice solid part of the fender.
After you have the hole cut out of the fender, it is time to start fitting the repair panel into the hole. This is probably the step that I like the most. I can really start to see the fit of the repair, and it seems like its pretty relaxing. The hardest part is behind me by now. Usually the removal of the rust is the hardest and most time consuming task.
Once I have made sure that I have a very nicely fitting piece, I hold it in place with clamps and tack weld it to the fender. To completely weld it in, the proper technique is to do a series of small tack welds until it is welded along the length. Usually you can get away with making ľ inch long welds, with sufficient time to cool in between. If you weld too fast, you can introduce too much heat into the metal, and it will warp, and cause lots of other problems.

Once you have all the welding done, it is time to grind the welds down. BE CAREFUL HERE TOO!! The grinding can cause enough heat to warp the metal, just like welding does. You also have to be careful not to grind the welds down too far. If you grind all your weld away, nothing will be holding the fender together.
After you have ground the welds down, it is time to start the bodywork. We havenít gotten to this stage yet, so there arenít any pictures. Stay tuned.